In this post I'm going to break down one of the fundamental concepts in Jira: projects. You're going to find out why we need projects and see how issues relate to those projects.
Think of a Jira project as a container – a bit like a digital filing cabinet for your work items. Every piece of work you track in Jira needs to live somewhere, and that somewhere is a project.
There's two key points to understand about how issues relate to projects:
It's important to understand that an issue can only live in one project. Be aware though, that whilst an issue can't live in multiple projects, you can view and report on issues across different projects – we'll come to this later.
In short each of your projects will contain its own set of issues, in order to help you keep everything organised and easy to find.
When you set up a project, you'll need to make some decisions about how it will be configured. Typically those configuration items will be:
There is much more to configuring projects but these are the fundemental configuration items. We'll talk more about things like “Issue Types" and “Workflow" in future modules. For now though you just need to understand that each project can be setup and configured differently to suit different ways of working.
Jira makes it easy to get started by providing templates.
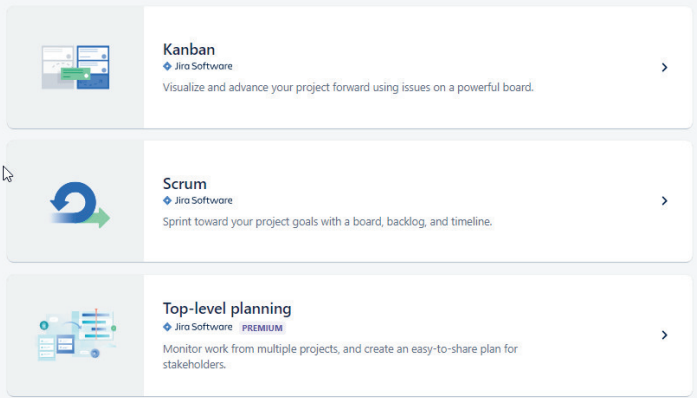
These templates come with pre-configured settings so you don't have to start from scratch. The templates will get you started but you'll want to tweak and adjust things to get the project modelling your real world way of working.
When creating a project, you'll need to choose between two types:
1. Team-Managed Projects:
2. Company-Managed Projects:
If you're just starting out with Jira then a team-managed project is the place to start. You can switch to company-managed later if you need more configurability (bear in mind that although this switch is possible it isn't straight foward).
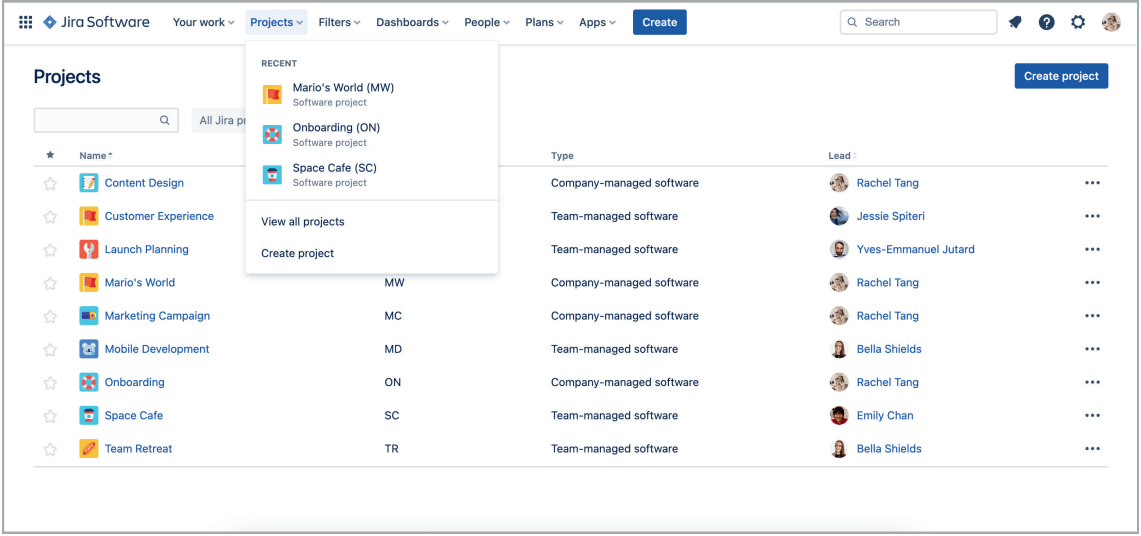
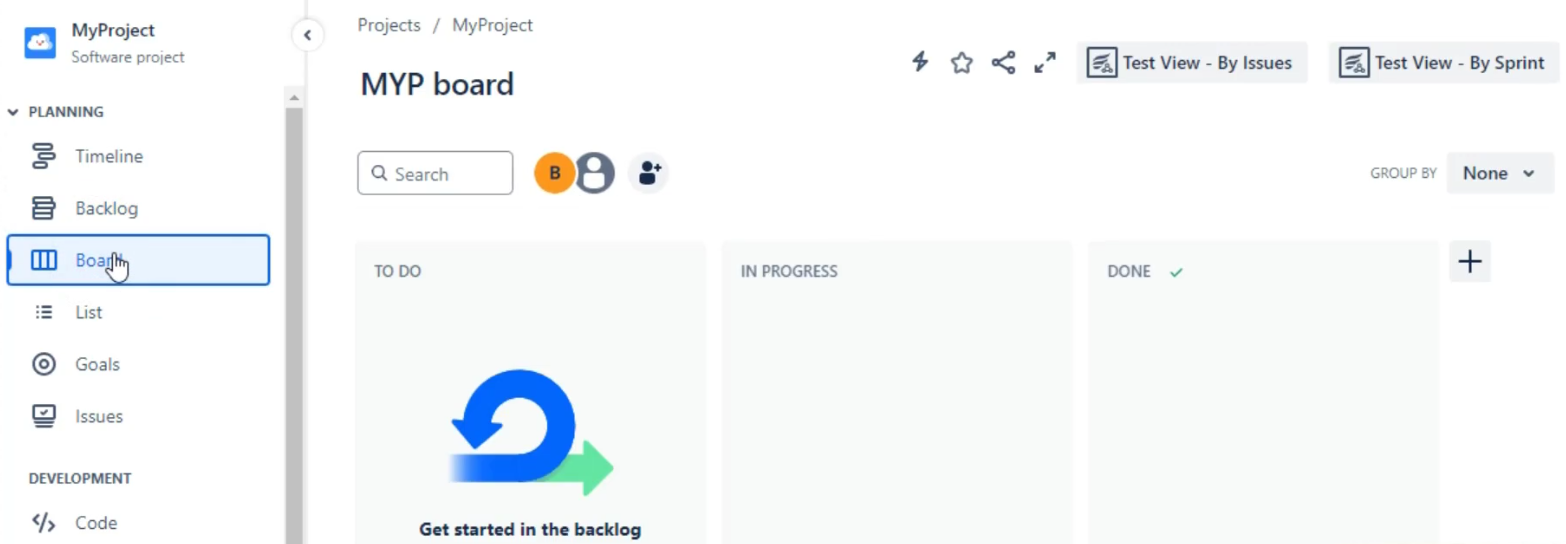
Once you've created your project, you'll notice several different ways to view your work:
Think of this as your project's calendar or Gantt chart.
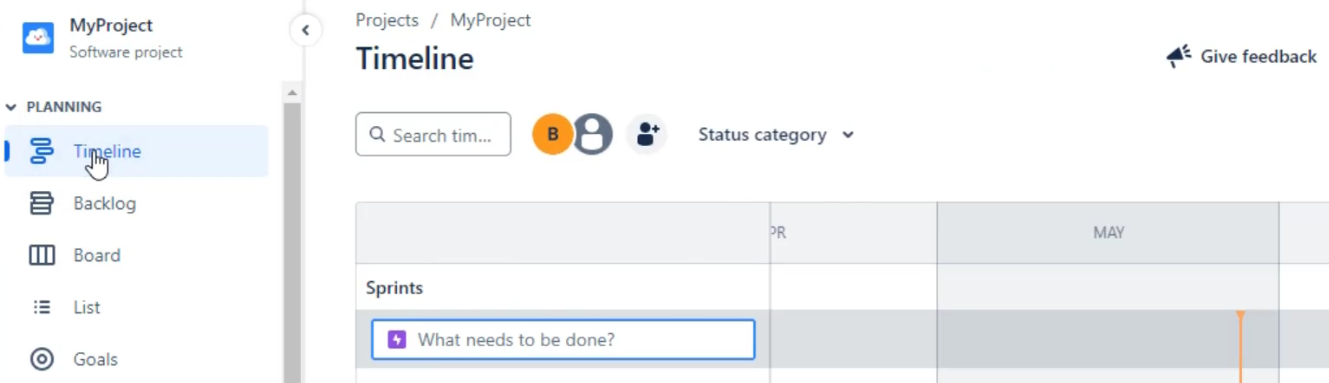
It shows when work is scheduled to happen and how different pieces of work relate to each other over time.
This is your project's complete to-do list.
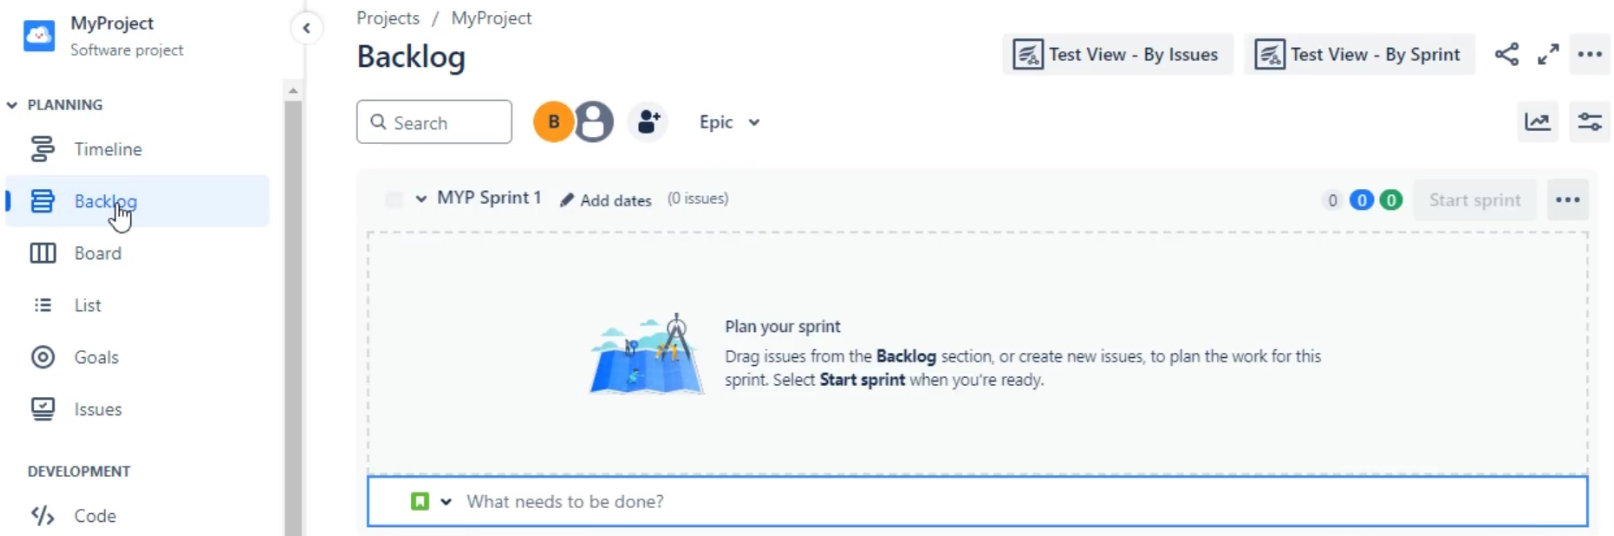
The Backlog contains all the work items that haven't been started yet but are planned for the future.
This is like a digital whiteboard where you can visualise your work/issues and move work items through different stages.
It's perfect for when you need to see everything in one place and make bulk updates. Also really useful for those of you used to working with Spreadsheets for task management.
This is where you can see detailed information about individual work items.
This view is similar to the list view but historically has been the default way of viewing and working with your issues. There's some powerful search and sort featuers here (including the ability to use Jira Query Language which we'll talk about later).
Now, let's talk about the actual work items you'll create in your project. As we've mentioned before, In Jira, we call these “issues." Every time you create a new Issue you'll need to select the project it belongs to. It's one of the first fields you're presented with (see the image below).
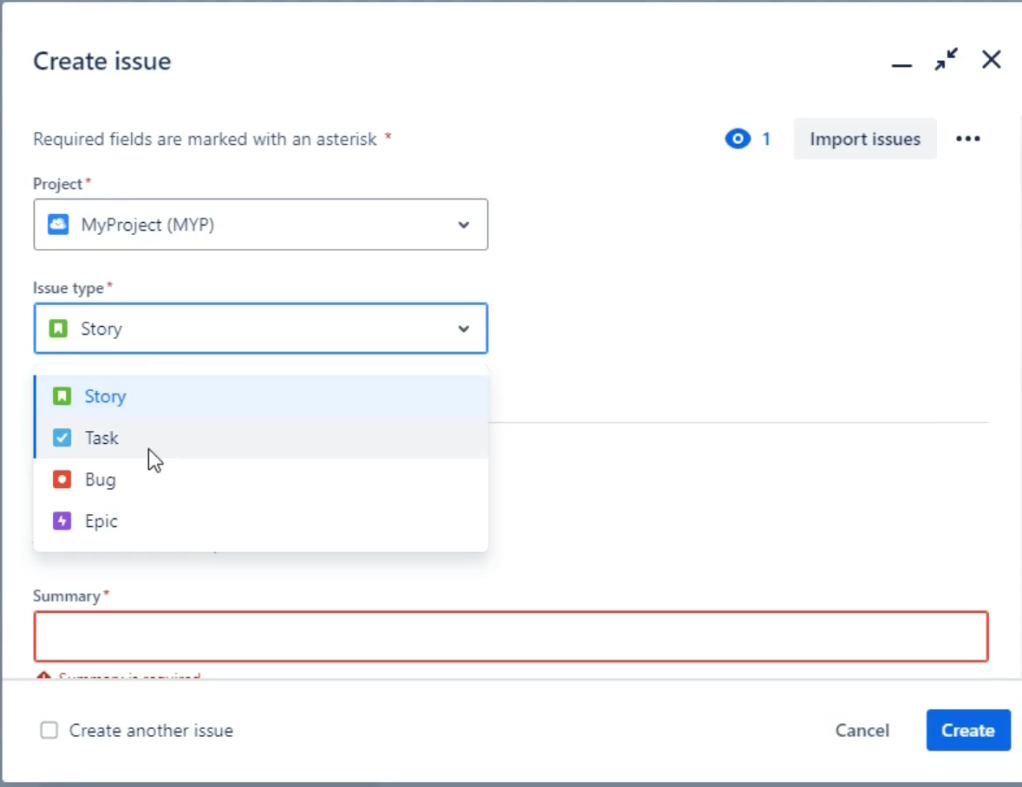
You'll see that when you create an issue you populate it with a lot of other data too. Below we detail the data that goes into creating these issues.
Every issue has:
When you create a project it's given a unique key. In the examples above our project is called “My Project" and Jira has given it the project key “MYP". This key is used to create unique identifiers for every issue you create. For example when you create your first issue in a new project, “My Project", that first issue is given the key MYP-1. It's not difficult to work out what the key will be for the 2nd issue and so on.
Another core aspect of a project is the types of issues they can contain. Different projects can contain different issue types. And, depending on your project template, you might have different types of issues available right from the start:
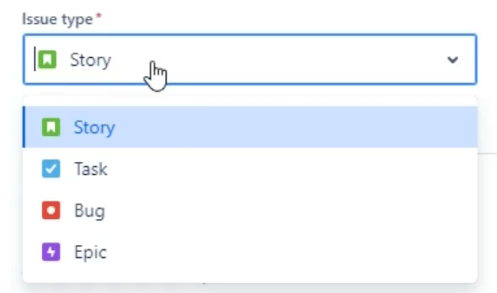
As you'll see from the image you have a some default issue types that you can choose from. This of the issue type as representing the “Type of work" you will be undertaking. This list of “Issue Types" is a factor of this projects configuration. A standard project typically includes:
These are the default “Issue Types" that a project can be setup with. As we'll see later you can configure your own issue types to represent the types of work you undertake.
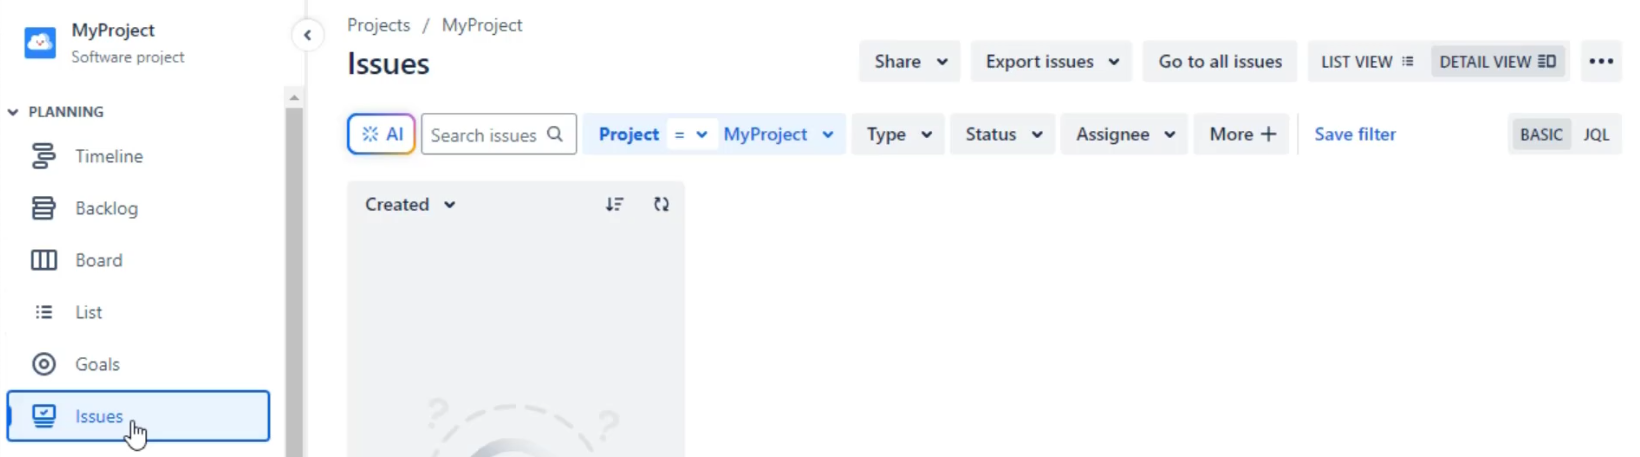
One of Jira's most powerful features is its search capability. The most powerful search capability can be found in the “Issues" are of your project:
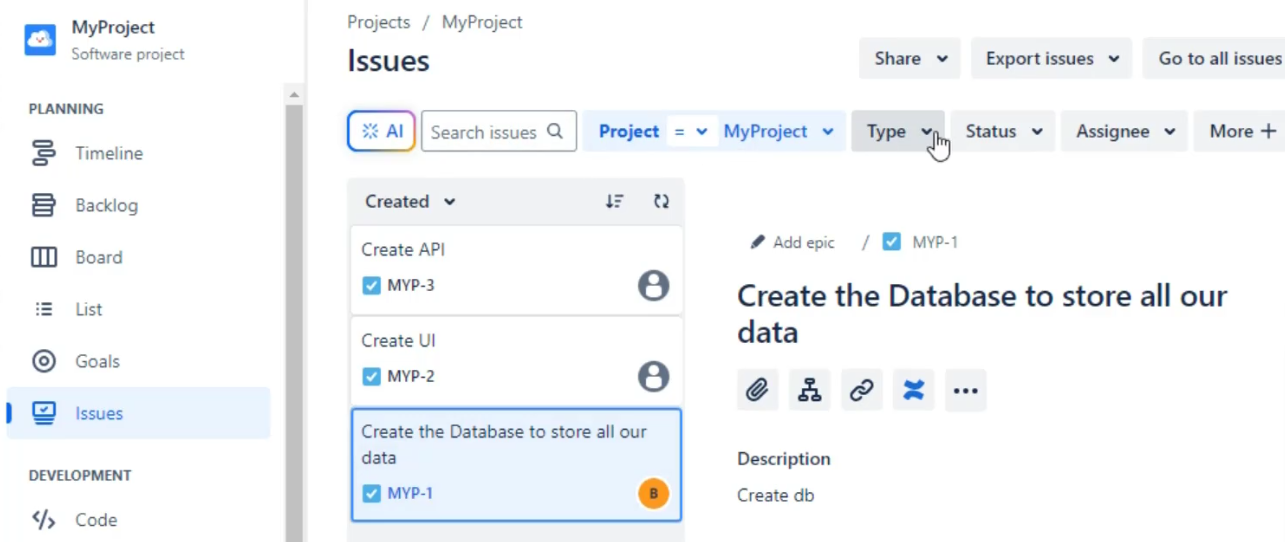
You can search for issues based on all sorts of fields. By default these include:
This becomes incredibly useful as your project grows and you need to find specific items quickly.
Let's look at the different ways you can visualize your work. The three main views (the ones you'll use most often) include the Board View, List View and Timeline View
This is perfect for teams using Agile methodologies. This gives you the ability to move “Issue" cards from one status column to another status column as you track the progress of work on a given task.
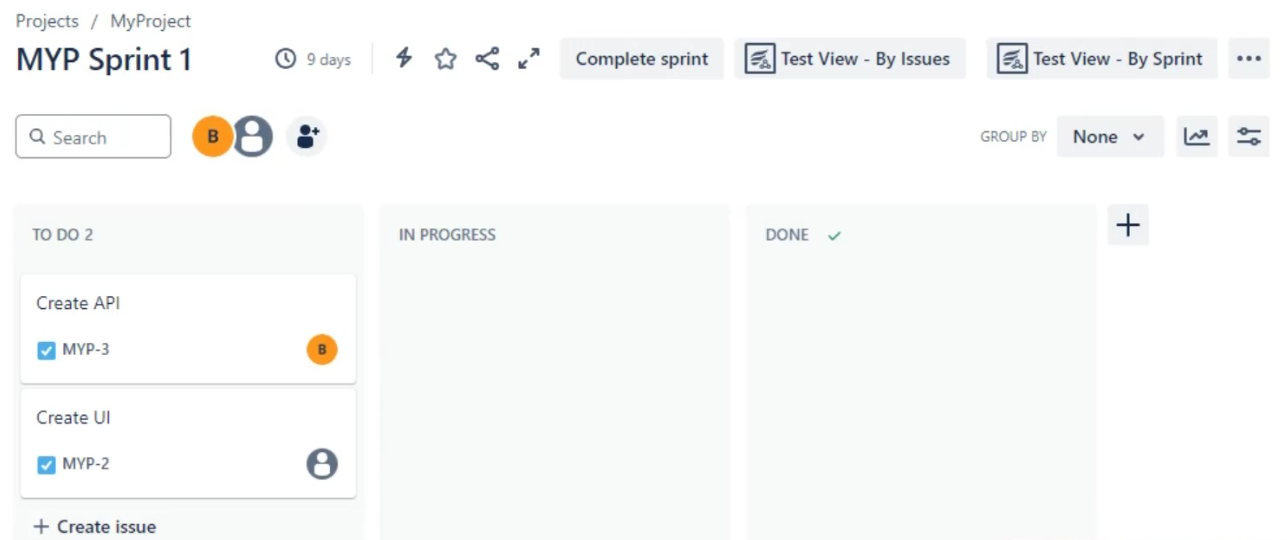
You can:
This view is as close as you'll get to viewing your tasks is a spreadsheet like view. It's relatively new to Jira but brings with it some powerful features like the ability to bulk update issues.
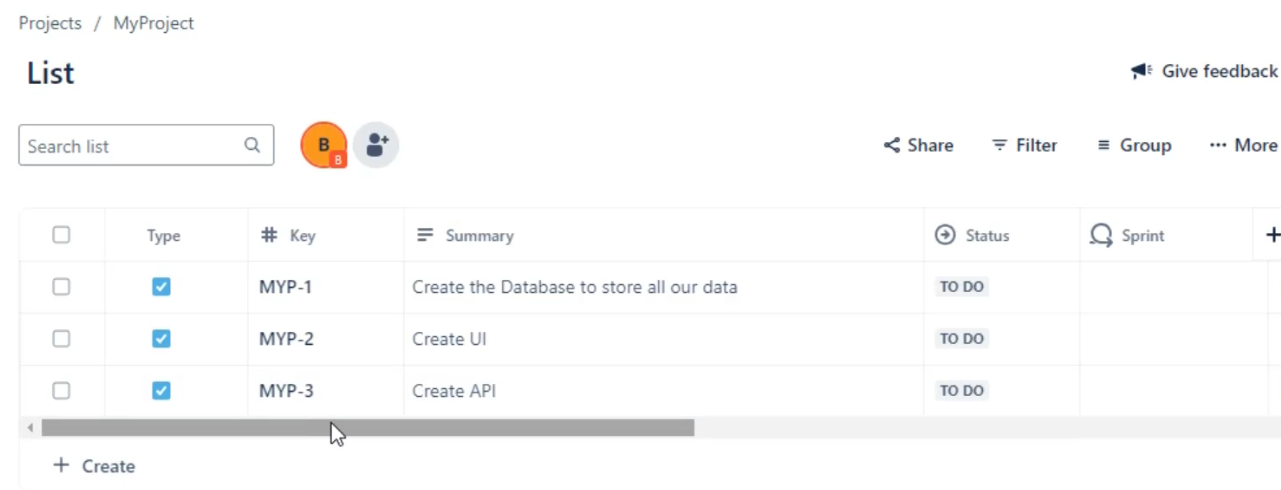
You can:
Timeline view is Jira's way of helping you manage projects in an old school Gantt type view. This view is best for scheduling work and viewing dependencies between issues.

Use this when you need to:
If you're just starting out with Jira it can be quite an overwhelming tool to get to grips with. If this is you then you might want to consider:
If you're just starting out with Jira it can be quite an overwhelming tool to get to grips with. If this is you then you might want to consider:
1. Mastering One View First
You have timelines, boards, lists, backlogs, etc. Pick one view (like the lists view) and just use that to begin with. Master managing your issues with that view then move on to master the other views.
2. Using Templates
Take advantage of Jira’s project templates. They’re designed for specific use cases and can save you lots of setup time. Just be aware that you can start with a “Team Managed" project but it’ll limit what you can do later.
3. Think About Structure
Before creating lots of issues, think about how you want to organize your work. This means think about what information you want to track in a Jira issue, what status values you need and what workflow you want to model.
4. Learn to Search
The “Issues" menu item provides Jira’s most powerful search feature. You’ll want to master this. Knowing how to find what you need quickly will make your life much easier as your project grows.
Jira is a powerful tool, but it doesn't have to be overwhelming. Start with the basics:
As you become more comfortable with these basics, you can explore more advanced features like custom workflows, advanced searching, and cross-project boards. But for now, focus on mastering these fundamentals, and you'll be well on your way to becoming a Jira expert.
In the next post and video we'll look at Jira Workflows.