In Testcomplete the Test Items page within your project is used to organize, manage & execute the test cases that you’ve automated. For example we might have developed test automation scripts for thousands of test cases. However, each time we want to create a software test automation run we may want to execute only a selection of the testcases. We may also want to execute some multiple times with different test data. The Test Items feature allows us to perform all of these tasks simply.
- Organise Testcases
- Execute only selected Testcases.
- Execute a testcase multiple times
- Executing a testcase with different test data
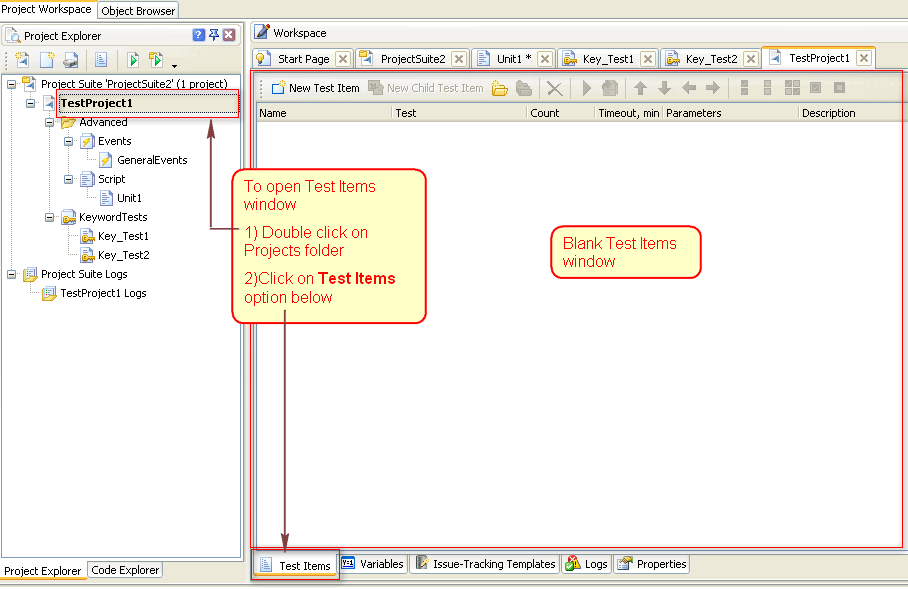
A blank Test Items page will look like this:
So lets work with this and consider the following software automation script.
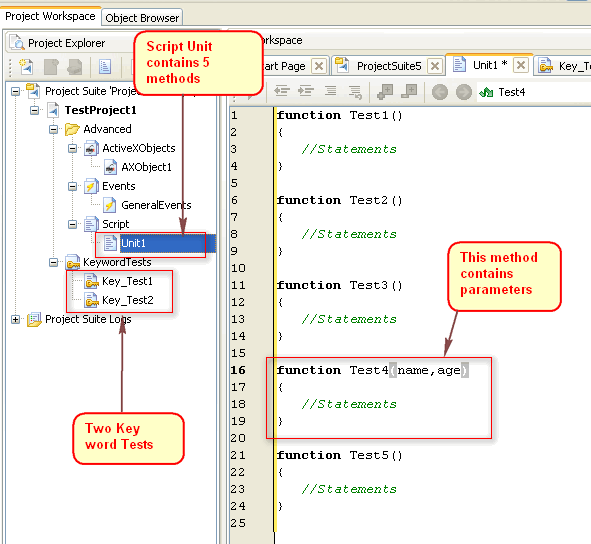
This TestComplete project has keyword and script routines. Let us say each keyword test represents a different testcase. Also each method in Unit1 is a testcase. As shown in the image the script routine ‘Test4’ requires two parameters (name and age) in order to be executed.
If we add every method & keyword test as a Test Item, we can easily execute the required test cases alone. You can see this in the image below.
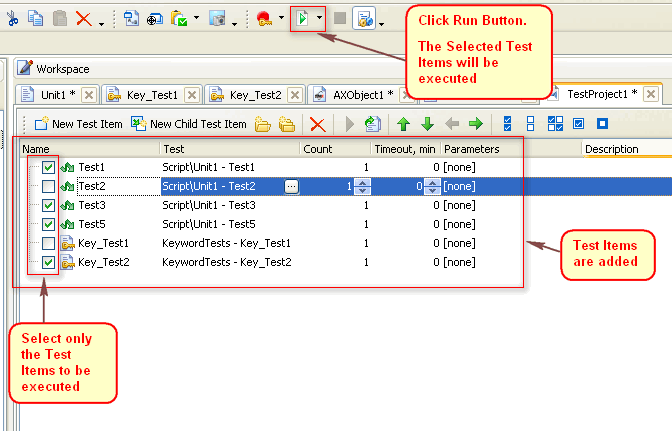
If we click the Run button this will execute only the selected Items. We can add any type of Test items (Script routines, Keyword Test, Load Test, Low level script unit etc) here in order to execute the items in the desired order. Also, if we need to we can pass parameters between the items we’re executing.
Before we look at passing parameters lets see how we can add a Test Item.
- Open the Test Items page of the Project. To do this,
- Double Click on Project Folder in the Project Explorer panel.
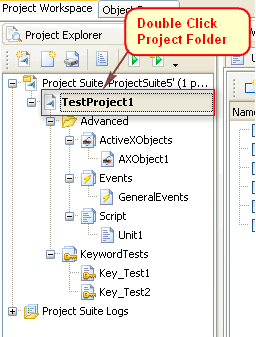
- It will open the project Editor window. Click on the Test Items option which is available at the bottom.
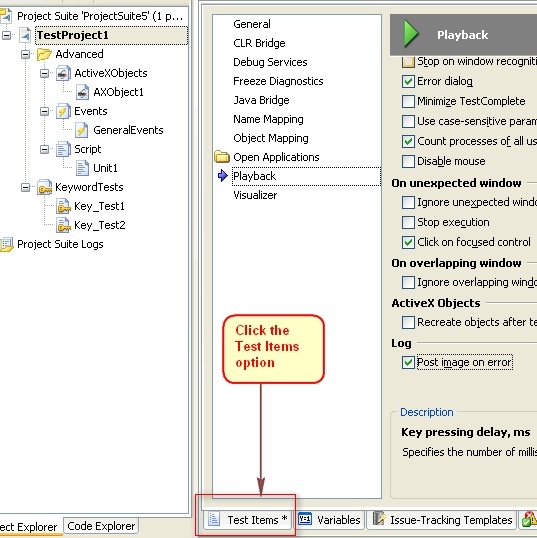
- Click on ‘New Test Item’ button. It will add a New Test Item row.

- In the Name column of the New Test Item row, enter a name for this Test Item.

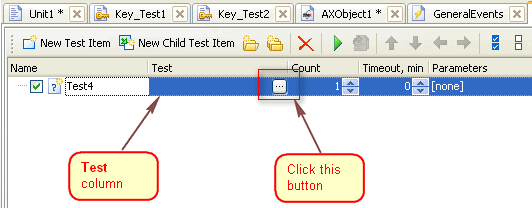
- In the Test column, select the Test item to be executed. A Test item may be a script routine or keyword test etc. To select a Test item do the following steps.
- Click on the ellipse button in Test column.
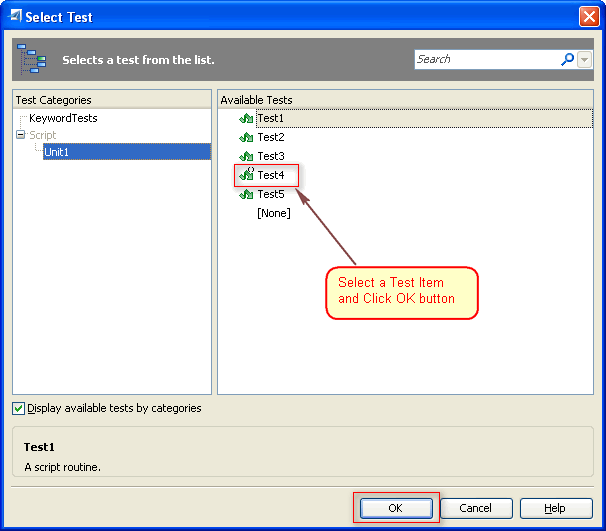
- It will open Select Test window. Here select a Script routine or Key word test and click OK button. (Here we select the script routine Test4)
- Now in the Test column it will show the selected Test item.

- In the Count column enter the number of times the Test item is to be executed.For example If we enter 3, this Test item will be executed 3 times. For now let us keep the value as 1.

- The Timeout column shows the maximum execution time allowed for that particular Test Item. If we set this value as 20, after 20 minutes if the execution of the test item is not finished, it stops executing this test item and moves to next Test item.

- In the Parameters column, you can set the values for the parameter of that Test item.
- If the Test Item has no parameter, the value will be displayed as [none]

- If the Test Item has any parameters, we should pass values for those parameters. To pass values do the following.
- Click on the ellipse button in parameters column.

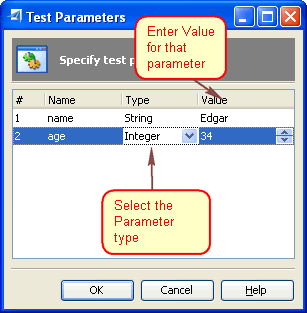
- It will open Test Parameters window. This window will show the list of parameters available for that Test Item.
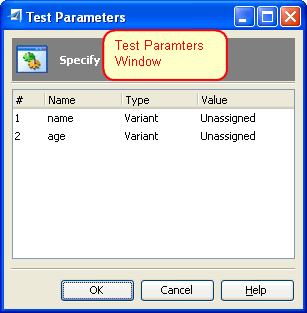
- For each parameter select the value Type and Enter (or select) the Value. Then Click OK button.
- In the Description column, enter a description for this Test Item.

Now we have added a Test Item. The Check box in the Name Column is used to enable or disable the Test Item. If it is not checked, the Test Item will not be executed.

With this, we can add the Test items we need and organise our test execution. All this without having to modify any of our coded scripts or our keyword tests. This approach to structuring your automation delivers a level of flexibility that makes organising your testing far simpler.