We’ve looked at ‘Why we need name mapping’ and we’ve covered ‘What name mapping is’. Now we’re going to take a look at the ‘How to map objects’ part of TestComplete.
The quick way to get started with mapping objects is to have TestComplete populate the name map as you record tests. This isn’t the best approach though. TestComplete does it’s best to create a concise list of mapped objects but it doesn’t always get it right.
The best way to build your name map is to map your objects manually. So switch off the automatic mapping (to stop TestComplete filling up the name map with stuff you’re not interested in). Then select all the objects you need to interact with and map them manually with names and paths that make sense to you.
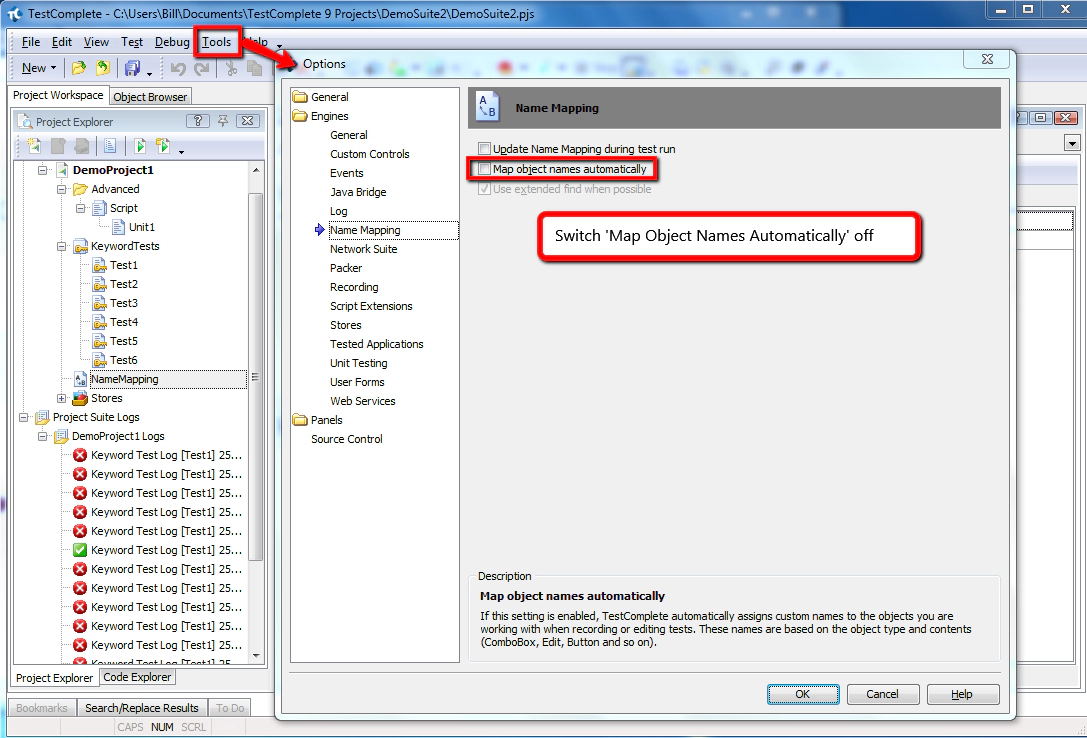
1. Switch Off Automatic Name Mapping Select “Tools -> Options” in TestComplete. Then from the options menu select ‘Name Mapping’ and un-check the ‘Map Object Names Automatically’ option.
Switching this off stops TestComplete creating lots of entries in the name map and aliases that confuse things. Even if you have lots of objects to map you may be tempted to use automatic mapping. I’d recommend you don’t do this. Use the ‘Map Child Objects’ feature which is more reliable (more on this later).
The whole point of this is to keep the name map clean, un-cluttered and well structured. This helps you see the objects you’re using in your tests and also helps you debug object identification issues much quicker.
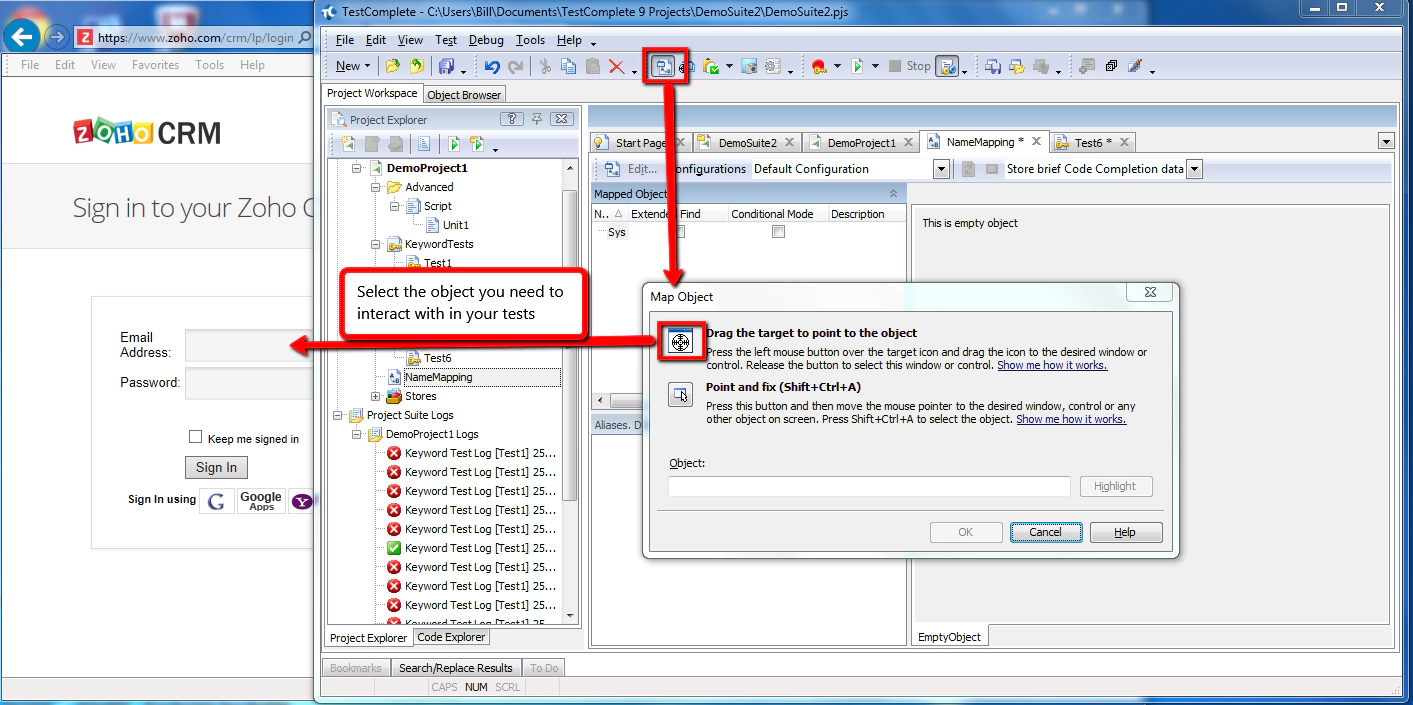
2. Map Your Objects Manually but Automatically Select Properties Open your application, each page (or screen) in turn and map all the objects you need to interact with. So for example open the web page https://www.zoho.com/crm/lp/login.html and then use the ‘Map Objects from Screen’ feature in TestComplete to map each object.
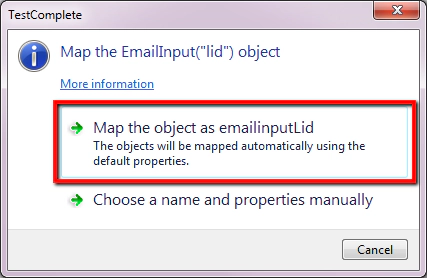
Once you’ve identified the object click ‘OK’ and TestComplete will ask you to confirm if you want to use the ‘default identification properties’. You can answer ‘Map the object as …..’ to do this.
This means that a best guess will be taken by TestComplete on the properties that will be used in future attempts to find this object. We’ll see how to change these properties later.
Alternatively you can ….
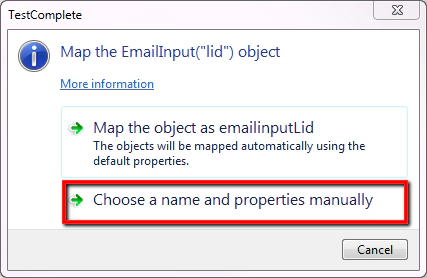
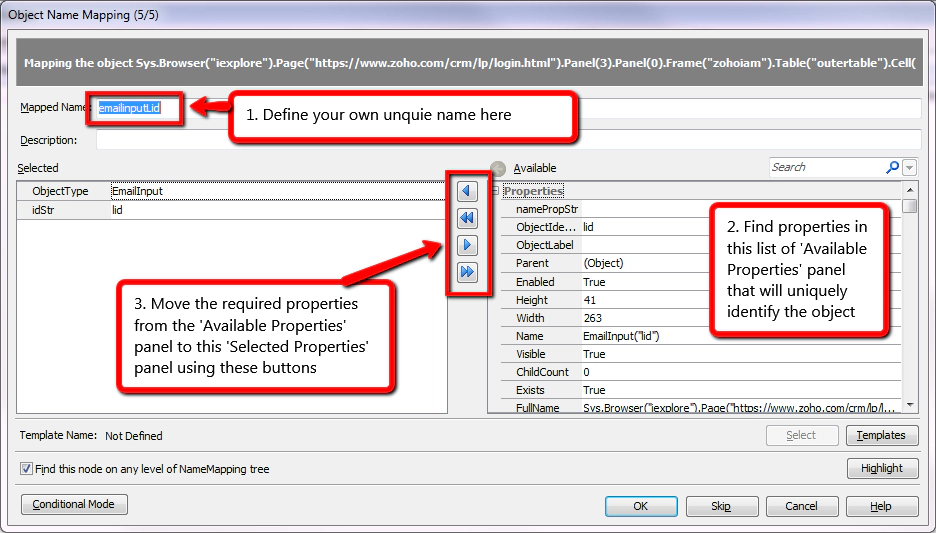
3. Map Your Objects Manually and Select Properties Manually When you map objects manually you can select to chose a name and specify the properties used to identify the object. In this case you will need to select this option
After we’ve selected this you’ll be presented with the dialogue box that allows you to define the object name and select the identification properties
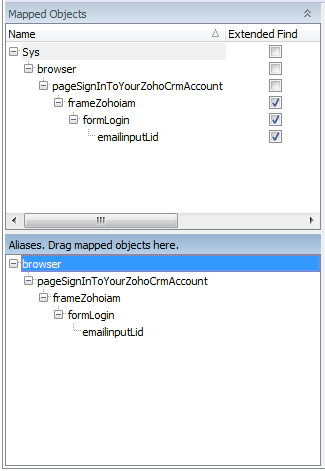
4. Modify the Aliases to simplify the mapping Whether you select the properties manually or automatically you should now see the mapped object entries entries in the Mapped Objects pane and the Aliases pane.
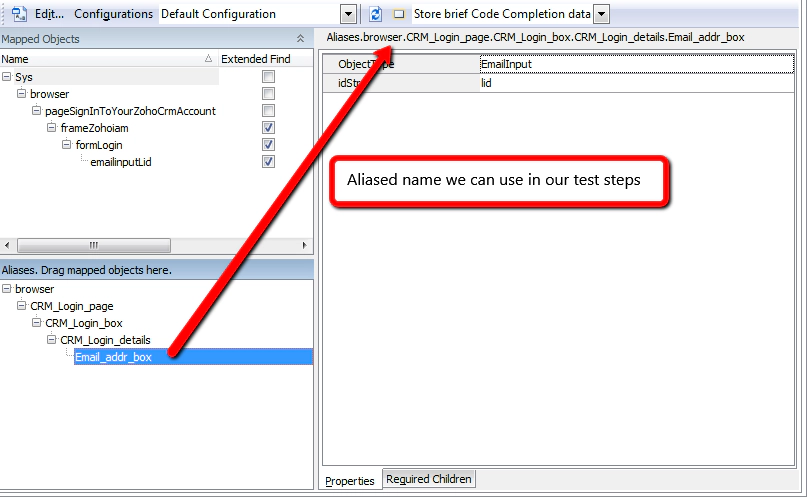
At this point you can update the names in the Aliases so that they make more sense. So for example you might change the page name and panels names so that they have values you’ll understand in your test scripts.
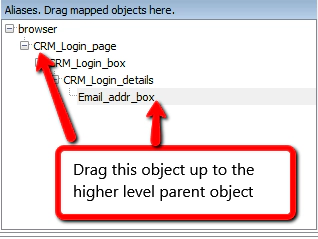
5. Simplify Object Hierarchy [Optionally] You can take this simplification a step further and remove any of the aliased objects in the hierarchy that you don’t need. To do this follow these steps…
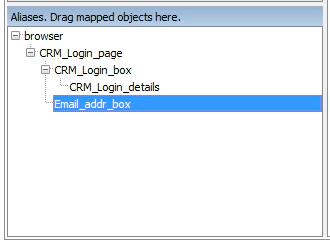
i. drag the object you do need up the hierarchy tree (e.g. under the page object)
So that you have this…
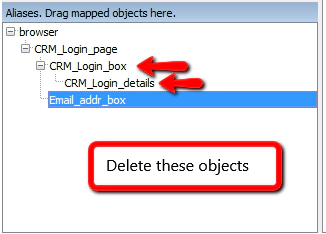
ii. delete the objects you don’t need
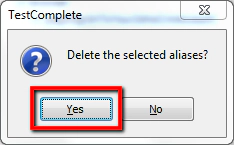
- select ‘yes’ when prompted about deletion
- select ’no’ when prompted about alias belonging to another item
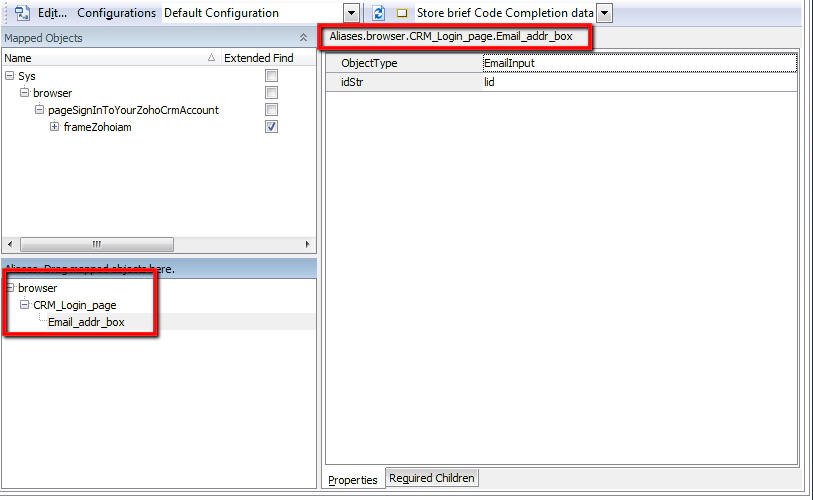
This leaves you with just the object(s) on the page that you want to interact with.
And regardless of whether you are creating key word tests or scripted tests you can refer to your objects with neat meaningful names…
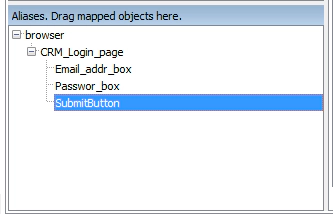
Aliases.browser.CRM_Login_Page.SubmitButton
And as you map each object on the page you end up with really clean aliases list which makes it much simpler to reference objects in all of your test steps…
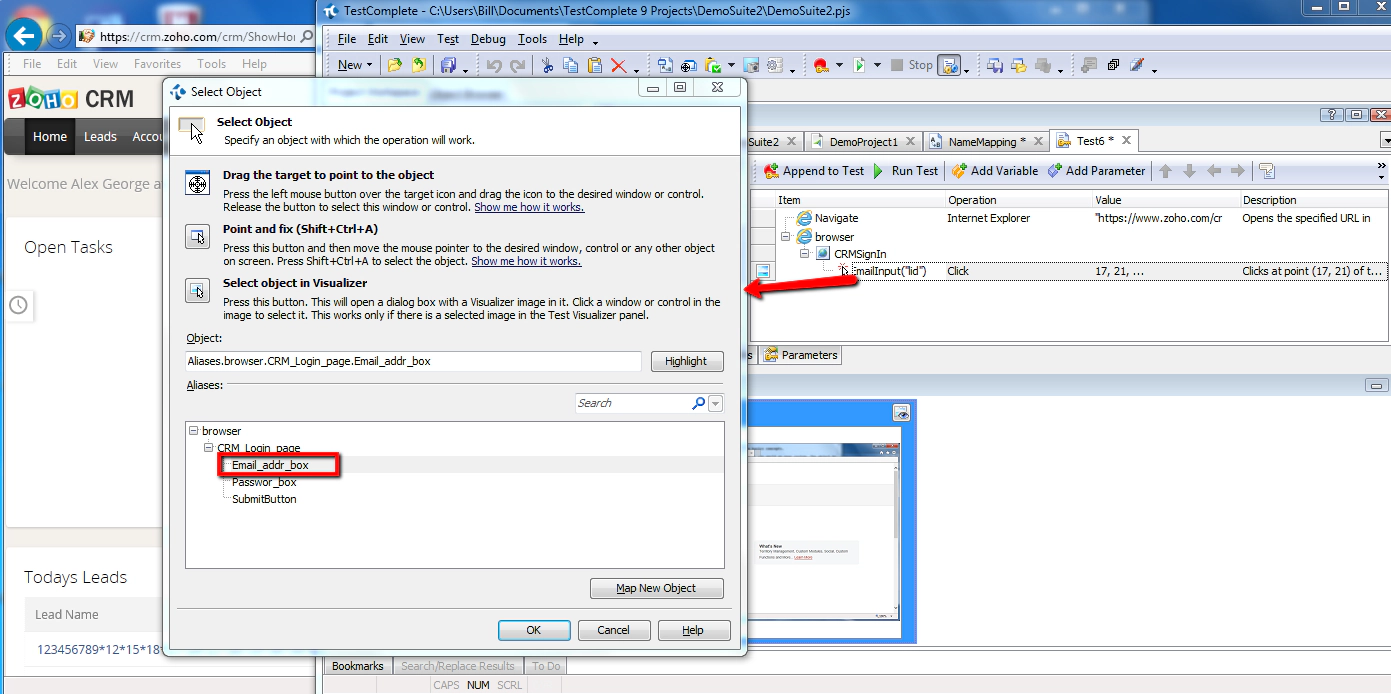
6. Use These Aliases in Your Test Steps From here you can use this concise list of aliases in your test steps as you create and build up your scripts…
It may seem like a lot of work mapping objects manually. In fact it is a lot of work. However, it’ll save you so much time and effort in the long run if you get this right from the start.
Looking for help implementing a scalable and maintainable test automation solution? Talk to us about our Accelerator package. Download the Pdf brochure here

